Um zu vermeiden, dass Ihre Anfrage verspätet beantwortet wird, geben Sie bitte Ihre WhatsApp-/Skype-Adresse zusammen mit der Nachricht an, damit wir Sie gleich beim ersten Mal kontaktieren können.
Wir werden Ihnen innerhalb von 24 Stunden antworten. Wenn für dringenden Fall, fügen Sie bitte WhatsApp/WeChat:
Warnung: Undefinierte Variable $public in /www/wwwroot/yuelinhengtong.hyhdemo.top/wp-content/themes/hyhadmin/header.php im Netz 313
Warnung: Versuch des Zugriffs auf einen Array-Offset auf einen Wert vom Typ null in /www/wwwroot/yuelinhengtong.hyhdemo.top/wp-content/themes/hyhadmin/header.php im Netz 313
,. Oder rufen Sie
Warnung: Undefinierte Variable $public in /www/wwwroot/yuelinhengtong.hyhdemo.top/wp-content/themes/hyhadmin/header.php im Netz 313
Warnung: Versuch des Zugriffs auf einen Array-Offset auf einen Wert vom Typ null in /www/wwwroot/yuelinhengtong.hyhdemo.top/wp-content/themes/hyhadmin/header.php im Netz 313
direkt.
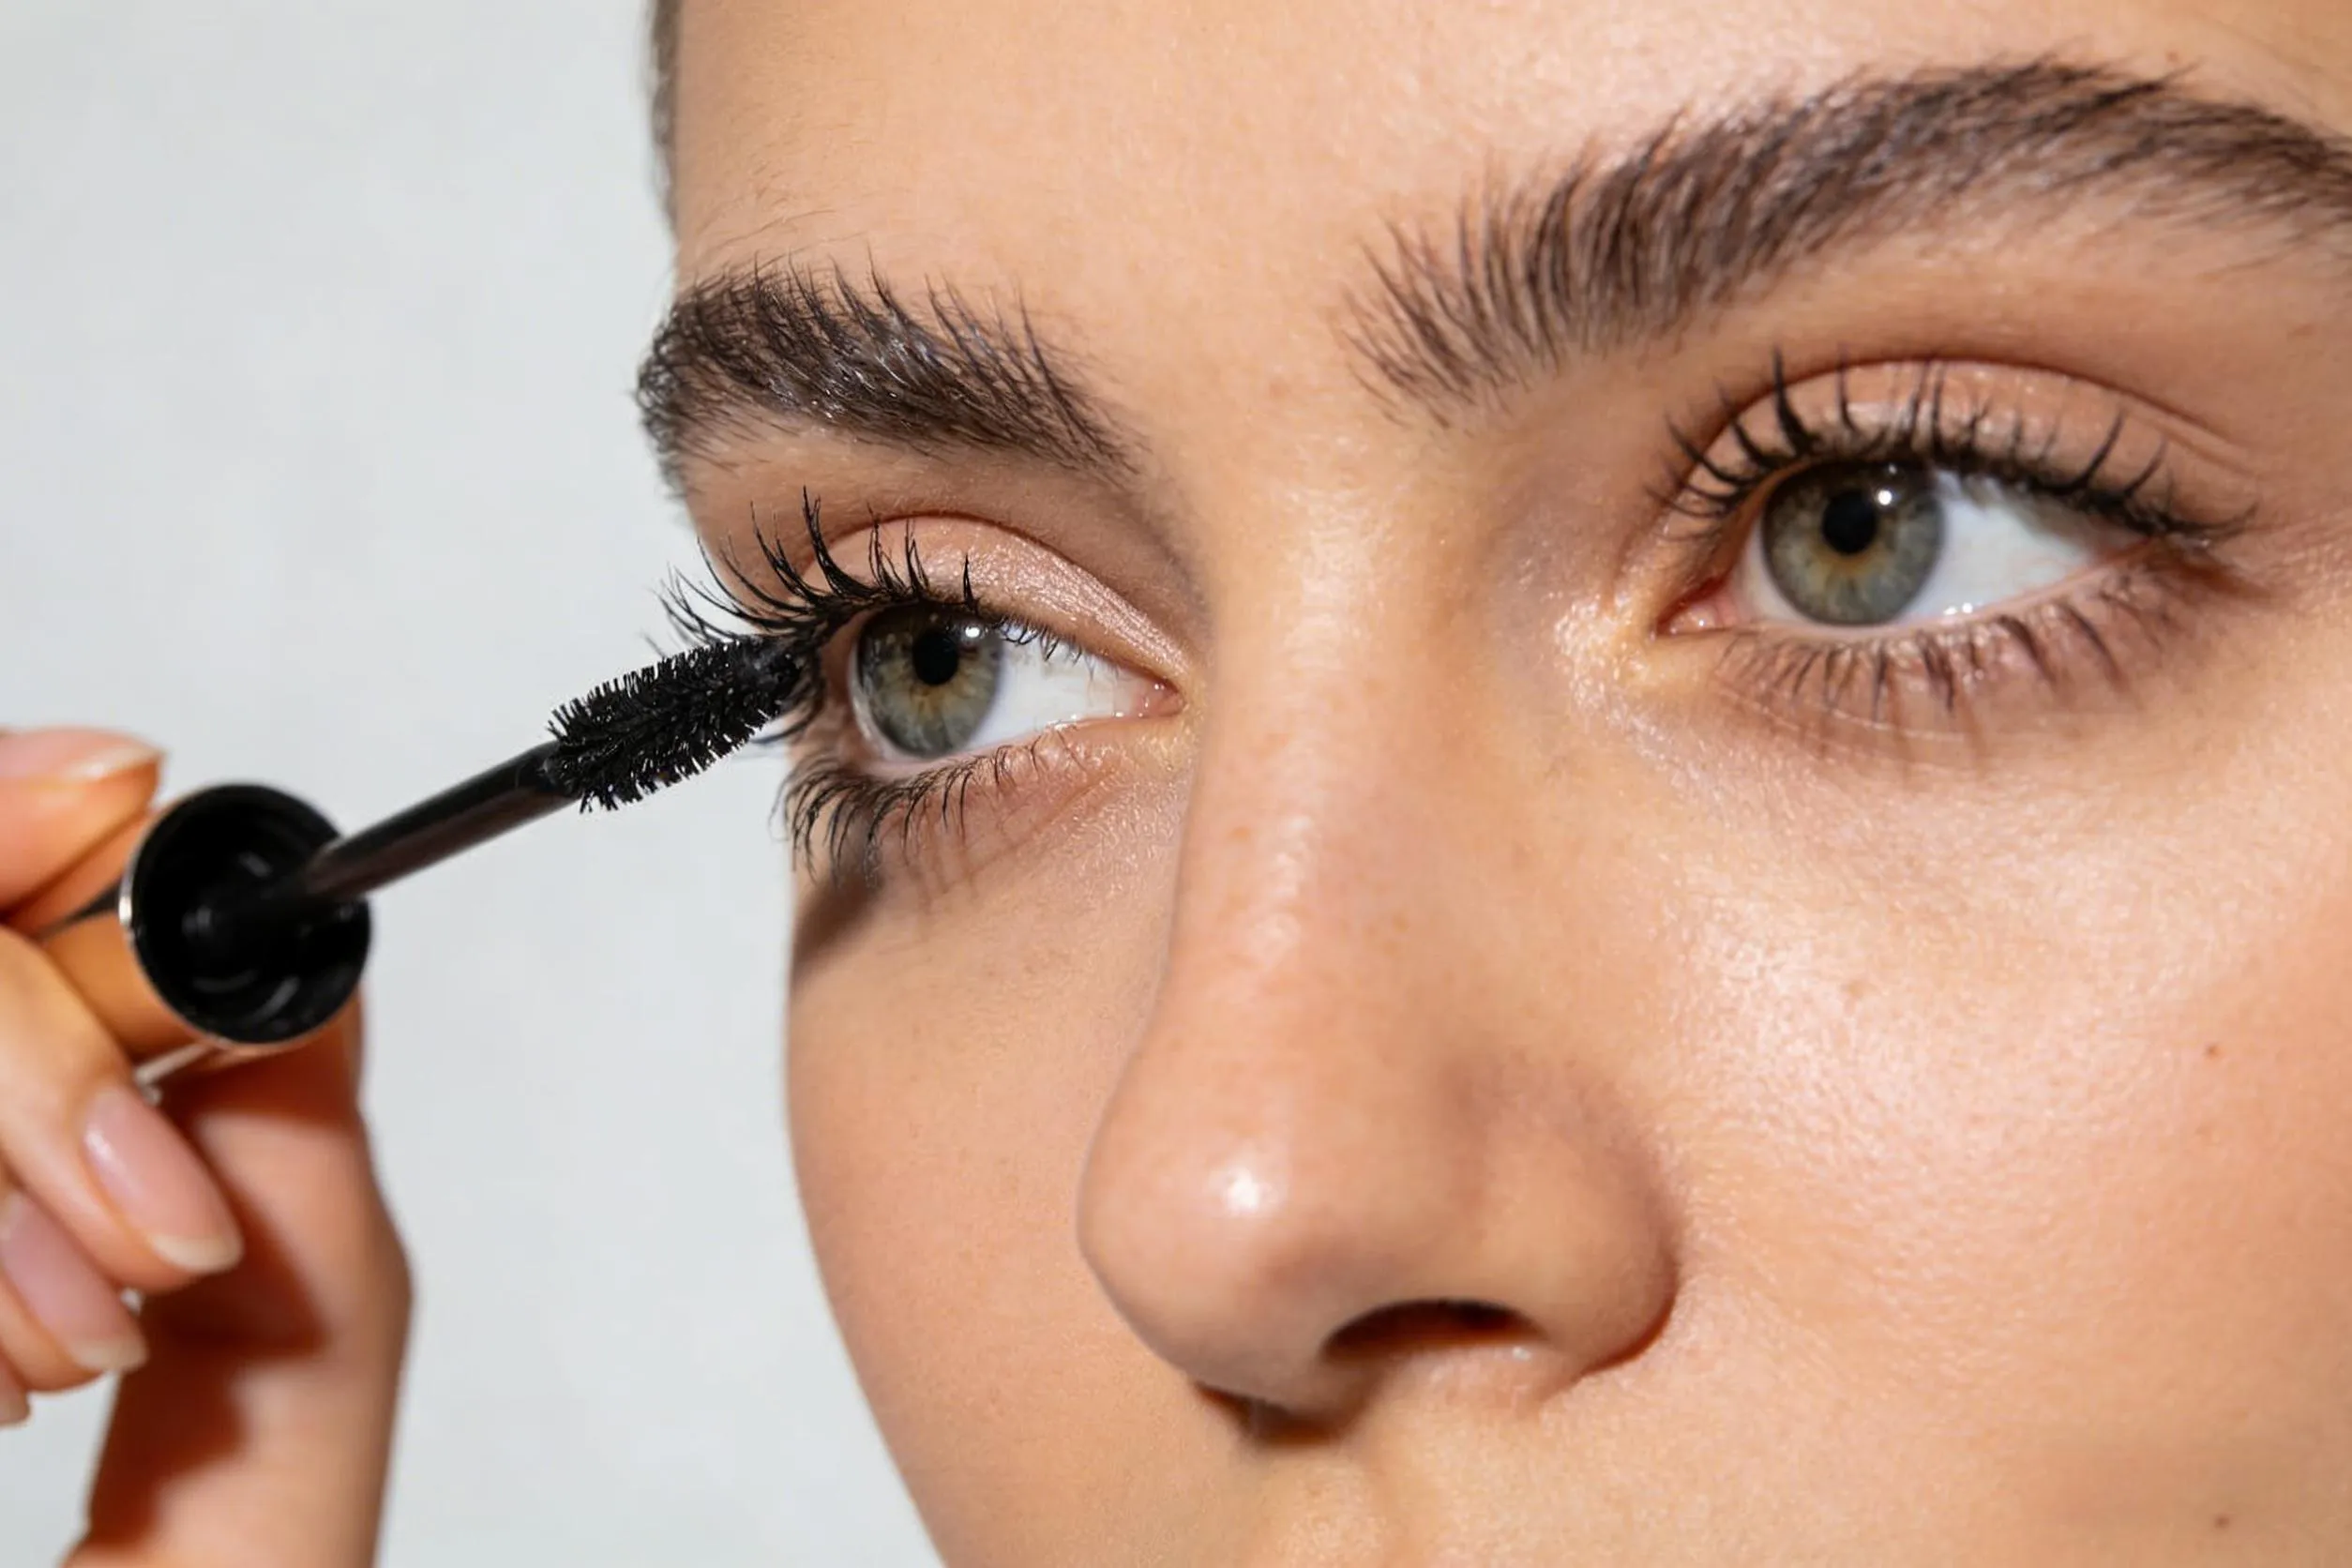
Möchten Sie schöne, lange Wimpern haben? Ja, natürlich wollen Sie das. Aber sie zu bekommen ist eine Problem. Der Besuch eines Salons für professionelle Wimpernverlängerung ist sehr teuer. Sie kann Hunderte von Dollar kosten. Außerdem ist sie sehr zeitaufwändig. Man muss stundenlang still liegen.
Dies ist eine große Frustration. Sie wollen Ihr Bestes geben. Du siehst schöne Wimpern auf Social Media Stars wie Huda Kattan und in Videos von NikkieTutorials. Du versuchst es mit Mascara, aber das ist nicht genug. Du versuchst Streifenwimpernaber sie können unecht aussehen. Sie können sich schwer anfühlen. Manchmal löst sich eine Seite ab. Das ist peinlich. Sie fühlen sich festgefahren. Sie wünschen sich eine bessere Methode, um die Wimpern zu bekommen, von denen Sie träumen.
Es gibt eine Lösung. Es ist einfach. Es ist erschwinglich. Sie können es zu Hause machen. Es heißt DIY-Wimpernverlängerung mit einzelne Wimpernbüschel. Dieser Leitfaden zeigt Ihnen genau, wie Sie es machen. Wir machen es Ihnen leicht. Wir zeigen Ihnen die Wissenschaft hinter einer perfekten Bewerbung. Sie werden lernen, wie Sie eine Natürlich aussehende Wimpernbüschel Stil oder einen fetten, dramatische Wimpern schauen. Das ist ganz Ihnen überlassen.
Der Beginn einer neuen Schönheitsroutine kann sich wie ein Problem. Was müssen Sie kaufen? Es gibt so viele Wimpernprodukte bei Sephora und Ulta Beauty. Es ist leicht, sich verwirrt zu fühlen. Man könnte sich Sorgen machen, das Falsche zu kaufen oder Geld zu verschwenden.
Dies ist rührend. Sie wollen einfach loslegen. Sie wollen nicht eine Woche mit der Suche nach Werkzeugen verbringen. Sie wollen keine Schublade voll mit Dingen, die Sie nie benutzen werden.
Die Lösung ist es, es einfach zu halten. Sie brauchen nur ein paar wichtige Dinge. Ein guter Hersteller, insbesondere einer mit jahrelanger Erfahrung in der Belieferung von Marken in Europa und Nordamerika, weiß, wie man eine perfekte Wimpernbüschel-Set. Diese Kits haben alles, was Sie brauchen.
Hier ist Ihr einfacher Werkzeugkasten:
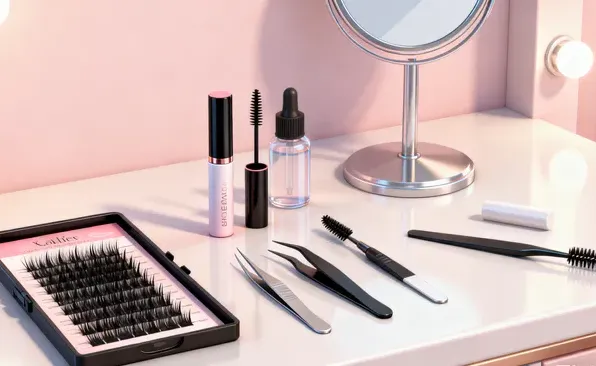
Cluster Lash Toolkit
Sie sind nicht die Einzige, die eine bessere Lösung für ihre Wimpern sucht. Die Marktdaten zeigen eine enorme Verschiebung in Richtung "Schönheit zu Hause".
| Datenpunkt | Statistik / Befund | Was dies für Sie bedeutet |
| Marktwachstum | Der Markt für falsche Wimpern wird bis 2030 auf ~$2,8 Milliarden anwachsen. Der DIY-Bereich wächst am schnellsten. | Immer mehr Menschen entscheiden sich für Wimpern für zu Hause. Das bedeutet, dass bessere Produkte und mehr Anleitungen für Sie verfügbar sind. |
| Suche Interesse | Die Google-Suche nach "DIY-Wimpernverlängerung" ist gestiegen 150% in den letzten 3 Jahren. | Sie sind Teil eines großen Trends. Die Menschen wollen diese Fähigkeit erlernen, und dieser Leitfaden wird sie Ihnen vermitteln. |
| Auswirkungen der sozialen Medien | Der Hashtag #diylashes hat über 1,2 Milliarden Aufrufe auf TikTok. | Es gibt eine riesige Gemeinschaft von Menschen, die Tipps austauschen. Du kannst endlos viele Inspirationen für deine Wimpernkarte finden. |
| Hauptmotivator | Eine Umfrage ergab Kosteneinsparung ist der #1 Grund, sich für die Schönheit zu Hause zu entscheiden. | Sie sparen eine Menge Geld im Vergleich zu einem Salon Wimpernverlängerungen. |
Sind Ihnen schon einmal die Wimpern zu früh ausgefallen? Dies ist eine häufige Problem. Es ist sehr enttäuschend. Sie verbringen viel Zeit mit dem Auftragen Ihrer Wimpern. Sie wollen, dass sie lange halten. Wenn das nicht der Fall ist, haben Sie das Gefühl, dass Sie Ihre Zeit und Ihr Geld verschwendet haben.
Die Lösung liegt in der Vorbereitung. Genau wie beim Streichen einer Wand brauchen Sie eine saubere Oberfläche. Ihre natürlichen Wimpern müssen perfekt sauber sein. Dies ist der wichtigste Schritt, damit Ihre Wimpern Büschelwimpernverlängerungen zuletzt.
Die Bewerbung kann wie die größte Problem. Sie könnten sich Sorgen machen. "Was, wenn ich mir ein Auge aussteche?" "Was ist, wenn sie schief aussehen?" Das sind normale Ängste. Es kann sein rührend Sie sehen ein winziges Wimpernbündel am Ende einer Pinzette und fragen sich, wie Sie es an die richtige Stelle bekommen.
Die Lösung ist eine einfache, bewährte Methode. Sie wird als die Technik des Auftragens unter der Wimper. Sie tragen die Wimpern auf die Unterseite Ihrer natürlichen Wimpern. Das hat zwei große Vorteile:
Lassen Sie es uns in kleine, einfache Schritte unterteilen.
Stellen Sie sich das wie eine Wimperntusche vor. Nehmen Sie den "Bond"-Applikator. Wischen Sie das überschüssige Produkt ab. Tragen Sie eine dünne Schicht auf den Ansatz Ihrer oberen natürlichen Wimpern auf. Konzentrieren Sie sich auf die unteren 1-2 Millimeter Ihrer Wimpern. Sie brauchen nicht die ganze Wimper zu tuschen.
Am besten beginnen Sie im äußeren Augenwinkel und arbeiten sich nach innen vor.
Nehmen Sie den nächsten Haufen. Legen Sie ihn direkt neben den ersten. Sie können sie ein klein wenig überlappen lassen. So entsteht ein nahtloser, voller Look. Fahren Sie fort, bis Sie den inneren Augenwinkel erreichen.

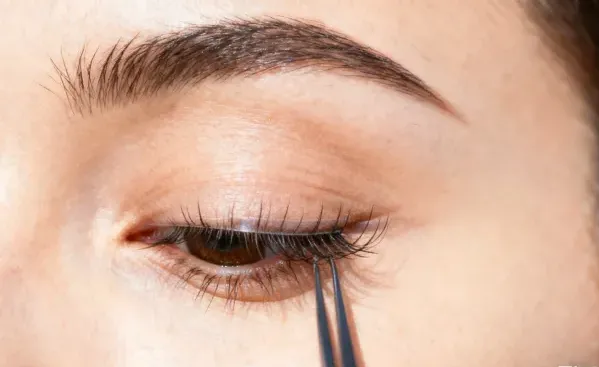
Anbringen der Cluster Lashes
Jetzt kommt der lustige Teil. Die Problem bei Wimpernbändern ist, dass sie für alle gleich sind. Aber nicht alle Augen haben die gleiche Form. Die Lösung ist eine benutzerdefinierte Wimpernkarte. Sie verwenden verschiedene Längen von Clustern, um einen Stil zu kreieren, der perfekt für Sie ist.
Ein zuverlässiger Lieferant ist der Schlüssel zur Individualisierung. Ein Unternehmen mit einer starken Lieferkette und OEM/ODM-Diensten kann jeden erdenklichen Stil kreieren, von natürliche, geschwungene Wimpern zu fett rosa Wimpern oder sogar untere Wimpern.
Selbst mit einem Reiseführer könnten Sie auf eine Problem. Ihr erster Versuch könnte schwierig sein. Das kann sein rührend. Aber geben Sie nicht auf! Die Daten aus Tausenden von Nutzerbewertungen zeigen, welche Probleme am häufigsten auftreten. Die Lösung ist es, von ihnen zu lernen.
| Bereich Herausforderung | Häufige von Benutzern gemeldete Probleme | Was das bedeutet | Wie Sie das Problem lösen können |
| Langlebigkeit | "Meine Wimpern fallen in 2-3 Tagen aus." | ~45% der negativen Bewertungen sprechen davon. | Seien Sie besonders vorsichtig mit Ihrem Wimpernvorbereitung. Stellen Sie sicher, dass Ihre Wimpern 100% sauber und ölfrei sind. Und lassen Sie den Schritt "Versiegeln" nicht aus! |
| Platzierung | "Sie sehen klumpig oder schief aus." | Das ist die #1 Frustration für Anfänger. | Gehen Sie langsam vor. Verwenden Sie eine Wimpernkarte. Und denken Sie daran, die Peitsche zu platzieren 1-2 mm entfernt von Ihrer Haut. Gut Wimpernpinzette sind ein Muss. |
| Komfort und Sicherheit | "Meine Augen sind gereizt." | ~20% der Nutzer machen sich darüber Sorgen. | Die Reizung kommt fast immer daher, dass die Wimpern zu dicht an der Haut anliegen. Halten Sie den kleinen Abstand ein. Führen Sie außerdem eine Patch-Test für den Wimpernkleber. |
| Umzug | "Ich habe meine natürlichen Wimpern herausgezogen." | Dies ist eine große Angst. | Ziehen Sie niemals die Wimpern ab. Haben Sie Geduld. Verwenden Sie einen guten Wimpernentferner. Er löst den Kleber auf, so dass die Wimpern sanft abgleiten. |
| Lernkurve | "Mein erster Versuch dauerte über eine Stunde." | Das ist normal. | Der erste Versuch dient der Übung. Beim dritten Versuch werden Sie schon viel schneller sein. Seien Sie geduldig mit sich selbst. Eine gute Wimpernbüschel-Kit kann den Lernprozess erheblich erleichtern. |
Sie haben alle Ihre Wimpern aufgetragen. Sie sehen toll aus. Aber es gibt noch eine letzte Problem zu lösen. Wie macht man sie haltbar? Es wäre so Frustrierend Sie sollen perfekt aussehen, nur damit sie sich einen Tag später verschieben oder abfallen.
Die Lösung ist der letzte und wichtigste Schritt: die Versiegelung.
Deine Wimpern sind dran. Sie sehen umwerfend aus. Jetzt ist die Problem ist, sie so zu halten. Es ist auch wichtig zu wissen, wie man sie sicher entfernt. Es ist rührend zu denken, dass Sie Ihre natürlichen Wimpern beschädigen könnten. Die Gesundheit Ihrer natürliche Wimperngesundheit ist die Nummer eins.
Die Lösung ist eine einfache Pflege- und Entfernungsroutine.
Versiegeln der Wimpern für ganztägiges Tragen
F1: Wie lange halten die Wimpernbüschel?
Bei richtiger Anwendung und Nachbehandlung können sie 5-7 Tage halten, manchmal sogar länger.
F2: Kann man Wimperncluster wiederverwenden?
Das ist möglich, aber sie müssen sehr sorgfältig gereinigt werden. Für den besten und frischesten Look ist es empfehlenswert, jedes Mal ein neues Set zu verwenden. Die qualitativ hochwertige Herstellung ermöglicht erschwingliche, hochwertige Wimpern, so dass Sie immer ein perfektes Set parat haben können.
F3: Sind Büschelwimpern schädlich für Ihre natürlichen Wimpern?
Nein, nicht wenn man sie richtig anbringt und abnimmt. Der Schaden entsteht beim Abziehen, nicht beim Tragen. Der Schlüssel ist ein sanftes Entfernen.
F4: Kann man mit Wimpernclustern duschen?
Ja, nach den ersten 24-48 Stunden. Versuchen Sie, das heiße Wasser nicht über längere Zeit direkt auf die Augen zu sprühen. Wenn Sie Ihr Gesicht abtrocknen, tupfen Sie Ihre Augen vorsichtig trocken.
Wenn Sie sich für Qualitätsprodukte eines speziellen Wimpernanbieters entscheiden und diese wissenschaftlichen Schritte befolgen, können Sie das Problem der schönen Wimpern lösen. Sie können die Frustration und die hohen Kosten eines Friseursalons vermeiden und einen makellosen, individuellen Look direkt zu Hause erzielen. Es braucht nur ein wenig Übung. Sie können es schaffen.